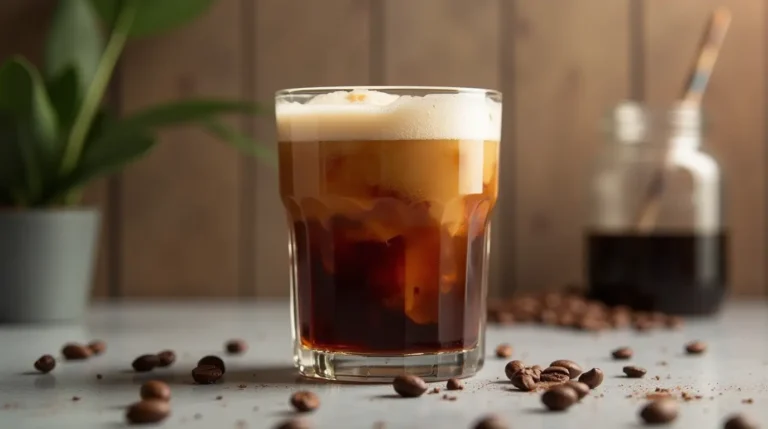
Coffee Percolator Tips: How to Avoid Common Brewing Mistakes
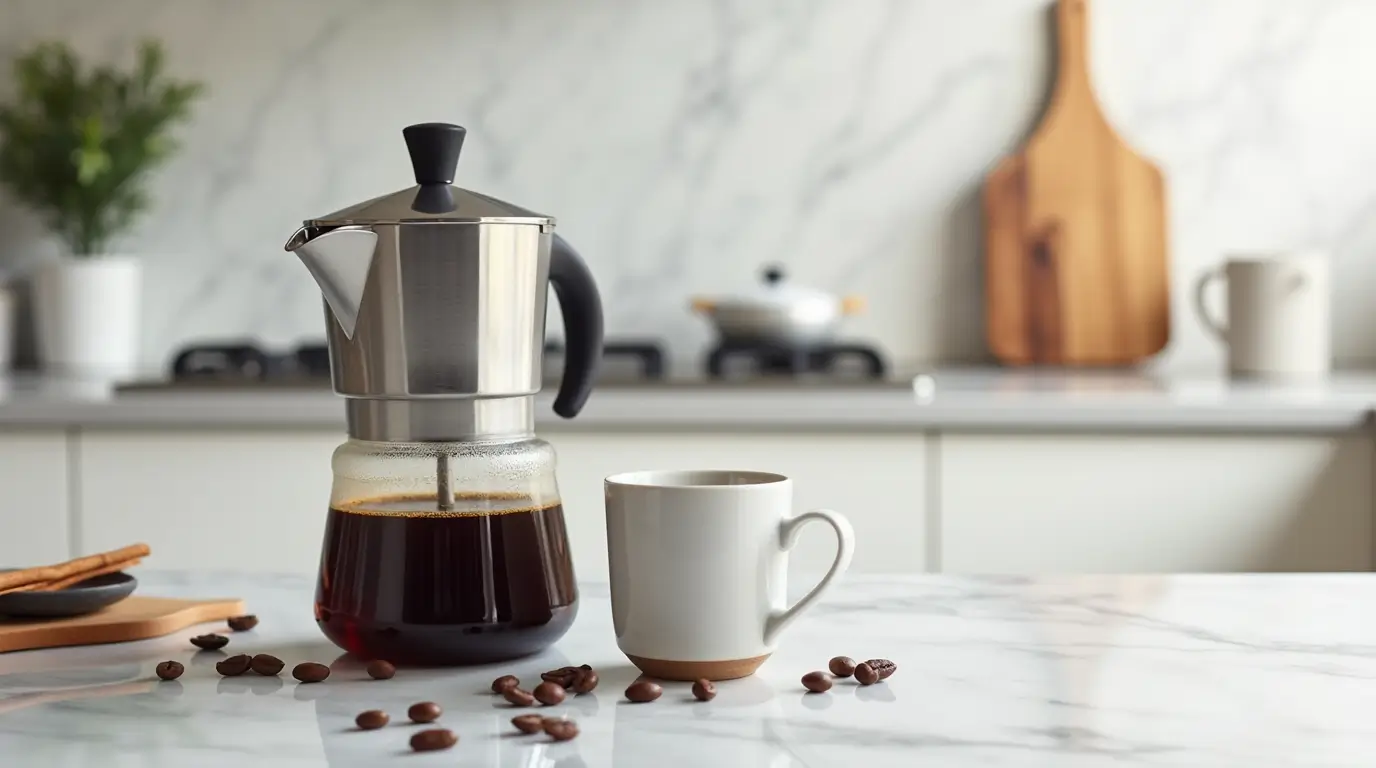
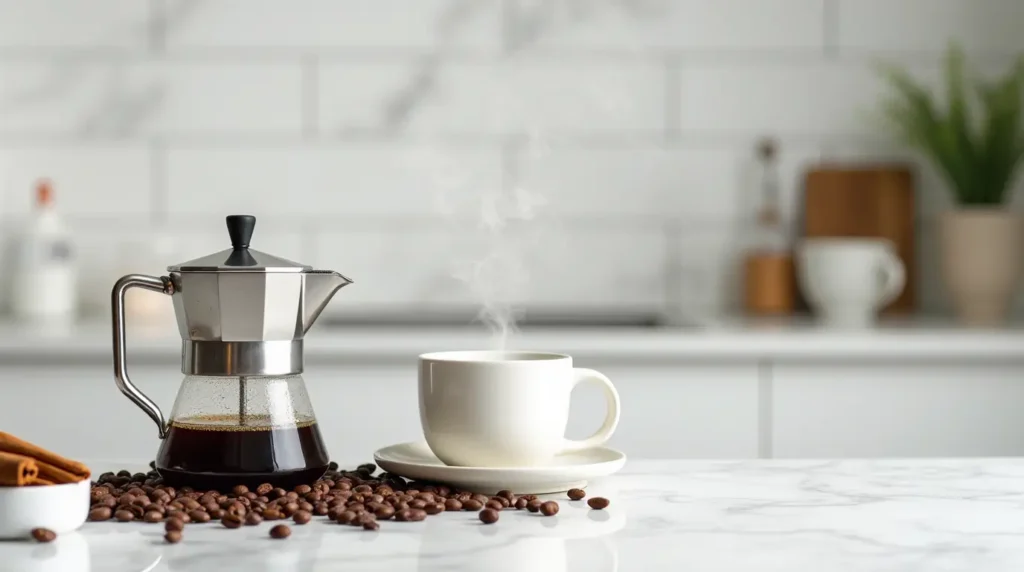
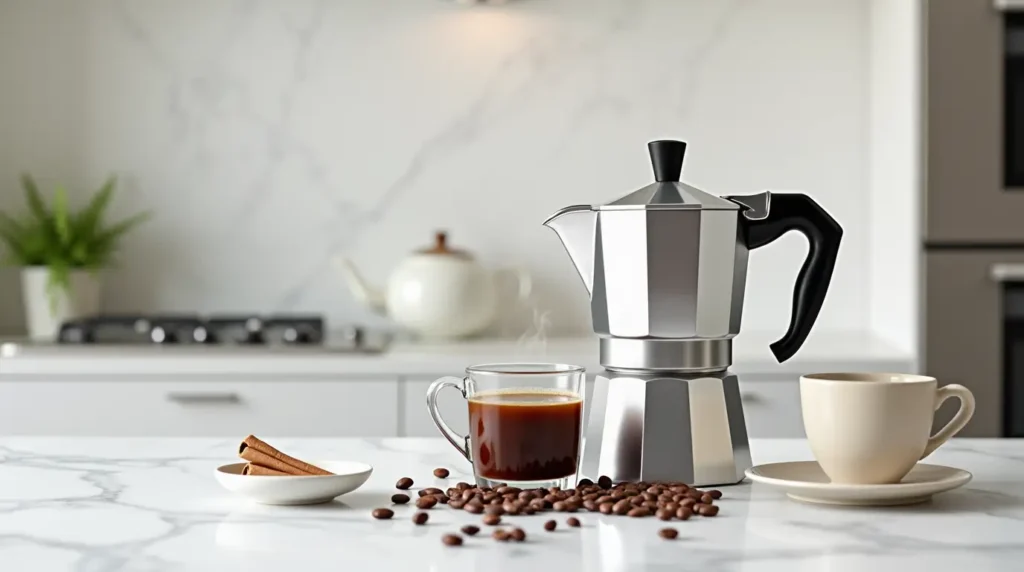
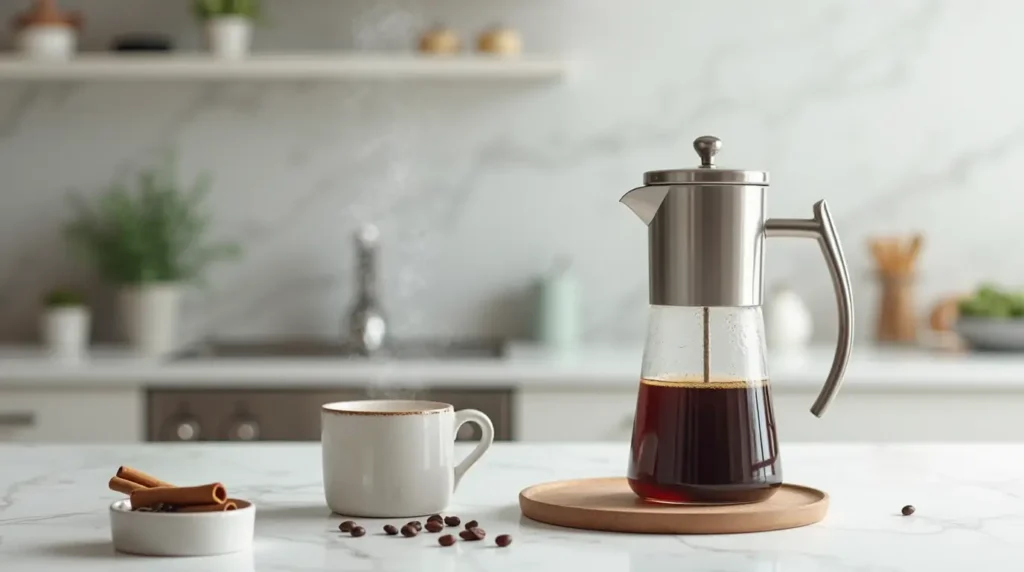
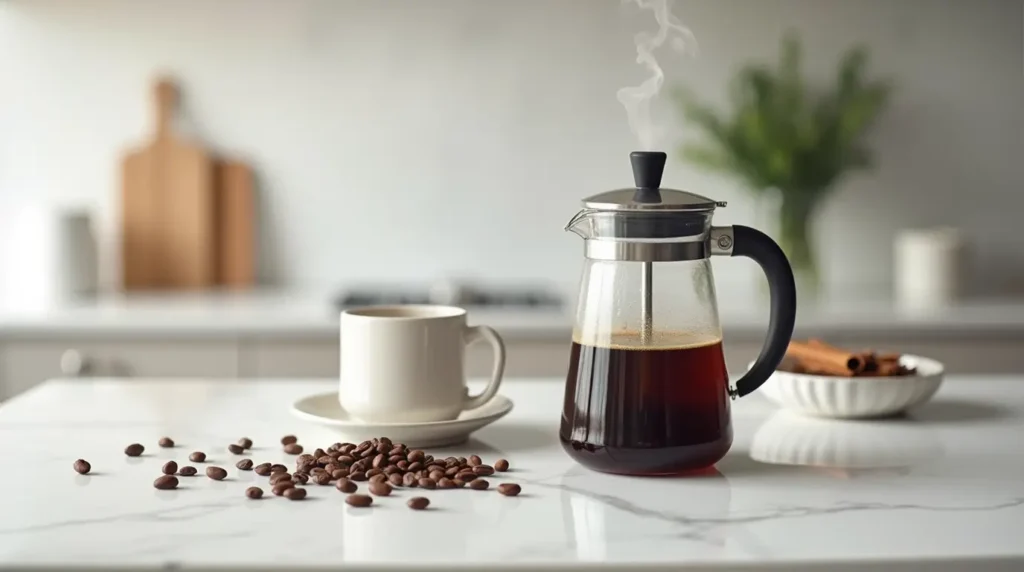
A coffee percolator is a classic and time-tested brewing method that has been cherished by coffee enthusiasts for decades. With its distinctive brewing process, it provides rich, bold flavors that many coffee lovers crave. While coffee percolators may seem old-fashioned compared to modern drip machines or espresso makers, they remain a favorite for those who enjoy a robust, full-bodied cup of coffee.
However, like any brewing method, it comes with its own set of challenges. Whether you’re a seasoned percolator user or a newbie looking to try it for the first time, it’s essential to understand the common mistakes that can impact your brew. In this post, we’ll guide you through the most common coffee percolator mistakes and provide expert tips on how to avoid them, ensuring that every cup you brew is perfect, flavorful, and satisfying.
Common Coffee Percolator Mistakes and How to Avoid Them
Using the Wrong Coffee Grind
One of the most important factors in brewing coffee with a percolator is choosing the right grind size. Unlike drip coffee makers or espresso machines, percolators require a coarse grind to achieve the best flavor. The reason is simple: percolators use a continuous cycle of boiling water that circulates through the coffee grounds, and a coarse grind allows the water to flow through the coffee more efficiently.
Importance of the Correct Grind Size
A coarse grind provides the right surface area for the hot water to extract the flavor from the coffee grounds evenly. When the grind is too fine, it can clog the filter and cause the coffee to brew unevenly. This results in a bitter, over-extracted taste that is far from enjoyable. In addition, the fine grounds may escape the filter, leading to a gritty cup of coffee that is unappealing.
Consequences of Using Too Fine a Grind
Using a fine grind in a percolator can lead to over-extraction. Over-extraction happens when water extracts too much from the coffee grounds, resulting in an overly bitter and harsh flavor. This is especially true because the brewing process involves multiple cycles of water circulating through the grounds, which further intensifies the extraction. Not only does this make your coffee taste unpleasant, but it can also leave a residue of coffee particles in your cup. To avoid this, always opt for a coarse grind to ensure the best brewing results.
Incorrect Water Temperature
The temperature of the water plays a crucial role in brewing a great cup of coffee. If the water is too hot or too cold, it can negatively affect the extraction process, leading to subpar coffee. A coffee percolator typically operates by heating water in a chamber, which then circulates over the coffee grounds before dripping back down and repeating the process.
Why Water Temperature Matters in Percolator Brewing
Water that is too hot (above 205°F) can cause the coffee to become over-extracted, while water that is too cold (below 190°F) will under-extract the coffee, making it weak and lacking in flavor. Percolators need to maintain a consistent temperature range throughout the brewing process to ensure a balanced extraction.
Ideal Temperature Range for Brewing Coffee
The optimal water temperature for brewing coffee in a percolator is between 190°F and 205°F. Within this range, the water is hot enough to extract the flavors from the coffee grounds without being so hot that it burns the coffee or extracts unwanted bitter compounds.
Tips for Maintaining the Right Temperature
- Use fresh, filtered water: Hard or stale water can alter the taste of your coffee, so always use clean, fresh water.
- Monitor the brewing process: If you’re using a stovetop percolator, make sure to adjust the heat to maintain a gentle simmer. A too-high flame can cause the water to overheat, while too-low a flame may result in insufficient brewing.
- Avoid boiling: Once your water begins to boil, lower the heat to maintain a steady simmer. Continuous boiling can cause over-extraction and bitterness in the brew.
Not Pre-wetting the Coffee Grounds
Many coffee drinkers overlook the importance of pre-wetting the coffee grounds, but this step can make a significant difference in the quality of your brew.
Benefits of Pre-wetting Grounds Before Brewing
Pre-wetting the coffee grounds ensures even extraction by allowing the grounds to absorb some of the water before the full brewing process begins. This helps eliminate “dry spots” where the water might not reach, resulting in an uneven extraction. Pre-wetting also helps to release the gases trapped inside the coffee grounds, known as “blooming.” This bloom creates an even distribution of water, which in turn leads to a smoother, more balanced flavor in the final cup.
How to Properly Wet Your Coffee Grounds Before Starting
To pre-wet your coffee grounds:
- Place your ground coffee into the percolator’s filter basket.
- Gently pour a small amount of hot water over the coffee grounds. This should be just enough to wet all the grounds without saturating them completely.
- Allow the grounds to sit for about 30 seconds. You’ll notice the coffee may “bloom” as the gases escape.
- Once the bloom has settled, proceed with filling the percolator with the remaining water and start the brewing process as usual.
This simple step can help ensure a more even extraction and result in a much better-tasting cup of coffee.
The Ideal Coffee Percolator Brewing Process
Water-to-Coffee Ratio
The water-to-coffee ratio is one of the most crucial factors in brewing a balanced cup of coffee with a percolator. Using the right amount of coffee grounds relative to water ensures that the brew is neither too weak nor too strong. It also plays a key role in achieving the ideal extraction, which is critical for flavor.
Ideal Coffee-to-Water Ratio for Different Cup Sizes
The ideal ratio of coffee to water can vary depending on personal preferences and the size of the percolator. Below is a table that outlines the recommended coffee-to-water ratio for different cup sizes. This will help you measure your ingredients accurately for a well-balanced cup of coffee.
| Cup Size (oz) | Coffee (tbsp) | Water (oz) |
|---|---|---|
| 1 cup | 1–1.5 tbsp | 6 oz |
| 2 cups | 2–3 tbsp | 12 oz |
| 4 cups | 4–6 tbsp | 24 oz |
| 8 cups | 8–12 tbsp | 48 oz |
How to Measure Water and Coffee Correctly for Optimal Flavor
- Measuring Coffee: Use a standard measuring spoon to ensure consistency in the amount of coffee you use for each brew. Remember, the more coffee you use, the stronger your brew will be. You can always adjust the ratio depending on how bold you want your coffee.
- Measuring Water: For best results, always use filtered water. Tap water with minerals or chemicals can negatively affect the taste. When measuring water, consider using a measuring jug or a percolator with marked measurements for precise amounts.
Brewing Time and Heat Control
Brewing time and heat control are two essential components of the coffee percolation process. If you brew your coffee for too long or with too much heat, you risk over-extracting the coffee, which leads to bitterness. If the brewing process is too short or too cool, you may end up with weak, under-extracted coffee.
The Importance of Brewing Time
Brewing time is crucial because it affects how much of the coffee’s flavor is extracted. The more time the hot water spends in contact with the coffee grounds, the more flavors (both good and bad) are extracted.
- Over-brewing: If you brew your coffee for too long, you risk extracting too many bitter compounds from the coffee grounds, resulting in a harsh taste.
- Under-brewing: On the other hand, if the brewing time is too short, not enough flavor will be extracted, leaving the coffee weak and underwhelming.
How Long to Brew for the Perfect Cup (4–7 minutes)
The ideal brewing time for most coffee percolators is between 4 to 7 minutes. During this time, the water circulates through the coffee grounds and extracts the desirable flavors without over-extracting the bitter compounds. If you prefer stronger coffee, extend the brewing time slightly, but make sure not to exceed 7 minutes to avoid bitterness.
Tips on Controlling the Heat (Not Too High, Not Too Low)
Heat plays a significant role in controlling the brewing process:
- Too High: If the heat is too high, the water may boil rapidly, leading to over-extraction and bitterness.
- Too Low: If the heat is too low, the brewing process will be too slow, which can result in weak coffee that lacks the rich flavor you expect from a percolator.
To control the heat effectively, follow these tips:
- For stovetop percolators: Maintain a gentle simmer rather than a full boil. Once the water reaches a simmering point, reduce the heat to maintain the temperature.
- For electric percolators: Most electric percolators have an automatic temperature control, but ensure the unit is working properly and doesn’t overheat.
Percolator Maintenance and Cleaning
Regular maintenance and cleaning of your coffee percolator are essential not only for ensuring the longevity of the device but also for maintaining the quality of the coffee. Coffee oils and grounds can build up over time, leading to stale or bitter-tasting coffee.
How Regular Maintenance Can Improve Taste
- Improved Flavor: Over time, coffee oils can build up inside the percolator and impart a rancid taste to your coffee. Regular cleaning prevents this buildup, ensuring that each brew tastes fresh and clean.
- Enhanced Performance: A clean percolator ensures that the water flows freely through the coffee grounds and that there is no obstruction in the brewing process, which could affect the taste and extraction.
Step-by-Step Cleaning Process to Remove Old Coffee Oils and Residue
- Unplug and Disassemble: If you’re using an electric percolator, make sure it’s unplugged before you start cleaning. Disassemble the parts, including the filter basket, tube, and percolator chamber.
- Wash the Parts: Use warm, soapy water to clean all removable parts of the percolator. For stubborn stains or residue, you can use a soft sponge or cloth. Avoid using abrasive materials that could scratch the surfaces.
- Clean the Basket and Stem: Pay extra attention to the filter basket and the stem that circulates the water. These parts can accumulate oils and coffee grounds, which can affect the taste of your coffee. Use a brush to gently scrub these areas.
- Rinse Thoroughly: After cleaning, rinse each part thoroughly to remove any soap residue.
- Descaling (for electric percolators): If you’re using an electric percolator, it’s also important to descale the machine periodically. Use a mixture of water and vinegar (1:1 ratio) to remove mineral buildup from the heating element. Run the solution through the percolator, and then run a few cycles of clean water to flush out the vinegar.
How Often to Clean Your Percolator
- Daily: After each use, rinse and clean the removable parts to prevent buildup.
- Weekly: Perform a deeper cleaning by scrubbing the coffee basket, stem, and other components.
- Monthly: Descale the percolator if you’re using an electric model, especially if you live in an area with hard water.
How to Customize Your Coffee Percolator Brew
Experiment with Different Coffee Beans
One of the joys of brewing with a coffee percolator is that it allows you to experiment with different coffee beans to discover unique flavors. The type of coffee beans you use has a significant impact on the taste and aroma of your brew, making it essential to choose the right beans for your percolator.
How Bean Type Affects Flavor
The flavor of your coffee is primarily influenced by the type of beans you choose. Beans come in various roast levels, and each roast has its own flavor profile. Generally, coffee beans are classified into three categories based on their roast level:
- Light Roast: These beans retain more of their natural flavors, with a brighter, more acidic taste. However, they may not be the best for percolators, as they require more precise brewing to avoid under-extraction.
- Medium Roast: These beans strike a perfect balance between acidity and body. Medium roasts offer rich flavor without overwhelming bitterness, making them a popular choice for percolator brewing.
- Dark Roast: Dark roasts have a smoky, bold flavor with low acidity. They’re ideal for percolators because the longer brewing time brings out the deep, full-bodied richness that many coffee drinkers love.
When experimenting with different beans, try purchasing fresh, whole beans and grinding them yourself for the best flavor. Freshly ground coffee has more flavor compounds than pre-ground coffee and ensures a more flavorful brew.
Recommended Beans for Percolator Brewing (Bold, Medium Roasts)
For percolator brewing, it’s generally recommended to use medium to dark roasts since these beans handle the longer brewing times better and tend to extract more evenly.
- Colombian Coffee Beans: Known for their smooth and balanced flavor, Colombian beans work great for percolators and provide a rich taste without being too acidic.
- Sumatra Beans: These beans are popular for their earthy, bold flavor with low acidity, making them ideal for percolator brewing.
- French Roast: If you prefer a smoky, robust cup, French roast beans are perfect for percolators, offering a deep, intense flavor.
- Espresso Beans: Though typically used for espresso machines, espresso beans (dark roast) also work well in percolators due to their rich flavor.
Adjusting Strength to Personal Preference
One of the most customizable aspects of brewing with a coffee percolator is the ability to adjust the strength of your brew based on your personal taste. Whether you like a light, mild cup or a bold, strong coffee, tweaking the coffee-to-water ratio allows you to dial in the perfect strength.
How to Adjust Brew Strength by Tweaking Coffee-to-Water Ratio
The most straightforward way to adjust the strength of your coffee is by altering the coffee-to-water ratio. For a stronger brew, simply increase the amount of coffee used, and for a milder cup, decrease it. Here’s how you can customize your brew strength:
- Stronger Brew: Increase the amount of coffee per cup. For example, instead of using 1 tablespoon of coffee per cup of water, try 1.5 tablespoons or 2 tablespoons for a more robust flavor.
- Milder Brew: Reduce the amount of coffee. For example, if you usually use 1 tablespoon per cup, try 0.75 tablespoons for a lighter brew.
Tips for Making Stronger or Milder Coffee Based on Taste
- For Stronger Coffee: If you prefer a more intense cup, you can also experiment with using a finer grind (but still coarse enough to prevent clogging). A finer grind increases the extraction, making the coffee stronger.
- For Milder Coffee: If your coffee tastes too strong, try using slightly more water in the percolator to dilute the brew. You can also use a coarser grind to slow down extraction and make a lighter cup.
Adjusting brew strength gives you total control over how your coffee turns out, so feel free to experiment and fine-tune it until you find your perfect balance.
Adding Flavors (Optional)
Adding flavors to your coffee can transform a simple brew into something exciting and personalized. While percolators are known for producing rich, bold coffee, they also provide an excellent base for infusing additional flavors.
Ideas for Adding Flavors Like Cinnamon, Vanilla, or Cocoa
There are many ways to enhance your coffee using spices and other ingredients. Some popular options include:
- Cinnamon: A classic addition that complements the natural warmth of coffee. Cinnamon adds a subtle, spicy sweetness without the need for sugar.
- Vanilla: Adds a rich, creamy note to your coffee. Vanilla beans or extracts are easy to use and pair well with most roasts.
- Cocoa Powder: For a mocha-like experience, cocoa powder can be added to your coffee grounds before brewing, giving your coffee a chocolatey flavor.
- Nutmeg or Cardamom: For a more exotic touch, spices like nutmeg or cardamom can add warmth and complexity to your brew.
When to Add These Ingredients for Optimal Flavor Infusion
Timing is important when adding flavors to your percolator brew:
- Spices like cinnamon or nutmeg can be added directly to the coffee grounds before brewing. This ensures the flavors are extracted during the brewing process and infuse the coffee with a rich, aromatic profile.
- Vanilla should be added during the brewing process as well. You can place a small amount of vanilla extract into the percolator’s water reservoir, or if you’re using vanilla beans, add them to the coffee grounds.
- Cocoa powder can be added to the coffee grounds in the filter basket, allowing it to dissolve into the coffee during brewing.
For the best infusion, add these ingredients before starting the brewing process so they have time to fully integrate into the coffee as it brews.
Coffee Percolator Troubleshooting: Quick Fixes
Coffee Tastes Too Bitter
A bitter taste in your coffee is one of the most common issues that coffee percolator users encounter. Bitter coffee can ruin the overall experience, but fortunately, this problem is usually caused by a few common factors that are easy to address.
Possible Causes and How to Fix It
- Wrong Grind Size: One of the primary causes of bitterness in coffee is using the wrong grind size. If the coffee grounds are too fine, the water extracts too much from the coffee, leading to over-extraction, which results in bitterness. A fine grind increases the surface area of the coffee, making it more susceptible to over-extraction when the water circulates through it for a long period in a percolator.
- Fix: Always use a coarse grind for your coffee. This allows the water to pass through the grounds more evenly and prevents over-extraction. If you’re unsure, try adjusting your grind size slightly to see what works best for your percolator.
- Over-Brewing: Brewing coffee for too long can also cause a bitter taste. Since percolators involve the water cycling through the coffee grounds multiple times, too much brewing time will extract excessive bitter compounds.
- Fix: Adjust the brewing time to around 4-7 minutes. If you’re using a stovetop percolator, monitor the brewing process to ensure it doesn’t overheat or continue boiling too long. For electric percolators, check the automatic timer and settings.
- Too High Brewing Temperature: Using water that’s too hot (above 205°F) can cause bitterness by over-extracting the coffee.
- Fix: Aim to keep the water temperature between 190°F–205°F. If you’re using a stovetop percolator, reduce the heat after it starts to boil to maintain a gentle simmer. Electric percolators usually handle this automatically, but it’s always worth double-checking.
Weak or Watery Coffee
If your coffee ends up tasting weak or watery, it can be frustrating, especially if you’re expecting a rich, full-bodied brew. Weak coffee typically occurs when the coffee grounds aren’t getting enough extraction or when there’s too much water relative to the coffee.
Why Coffee Can End Up Weak and How to Fix It
- Insufficient Coffee Grounds: If you’re using too few coffee grounds, the brew will naturally be weak. The percolator needs enough coffee to produce a strong, flavorful cup.
- Fix: Make sure you’re using the proper coffee-to-water ratio. For most percolators, the general rule is about 1 to 1.5 tablespoons of coffee per 6 ounces of water. If your coffee tastes weak, try increasing the coffee amount slightly, especially for larger brews.
- Wrong Ratio: If you’ve used too much water relative to the amount of coffee, your coffee will end up diluted and watery.
- Fix: Adjust the coffee-to-water ratio according to your taste preferences. You may need to experiment a bit, but a common starting point is 1 tablespoon of coffee per 6 ounces of water. If you find it too weak, add a little more coffee or reduce the water.
- Coarse Grind Too Coarse: If your coffee grind is too coarse, it may not be extracting the coffee effectively, leading to a weak brew.
- Fix: Use a medium-coarse grind, which will allow the coffee to extract properly while not clogging the filter. A grind that’s too coarse won’t extract enough flavor, leaving you with a weak cup.
- Not Enough Brewing Time: If the coffee hasn’t had enough time to brew, it may be under-extracted, which results in weak coffee.
- Fix: Ensure you’re allowing enough time for the brewing process, usually 4 to 7 minutes. If you’re using a stovetop percolator, check the brewing progress to avoid under-brewing.
Coffee Percolator Not Brewing Properly
When your percolator isn’t brewing correctly, it can be frustrating. The coffee may not drip or percolate as expected, or the water might not circulate through the grounds. Fortunately, most percolator issues are caused by common mechanical problems, and there are simple troubleshooting steps you can follow.
Common Mechanical Issues with Percolators
- Clogged Tube: The tube inside the percolator is responsible for cycling the water over the coffee grounds. If the tube becomes clogged with coffee grounds, oils, or mineral deposits, the water won’t circulate properly, leading to uneven brewing or no brewing at all.
- Fix: If you notice the water is not circulating properly, disassemble the percolator and check the tube for any blockages. You can use a small brush or pipe cleaner to remove any clogs, or use warm water to rinse the tube thoroughly. Cleaning the tube regularly will help avoid this problem.
- Improper Assembly: Sometimes, the percolator doesn’t brew properly because it wasn’t assembled correctly. The filter basket or other parts might not be aligned properly, preventing water from cycling through the coffee grounds.
- Fix: Double-check that the filter basket, stem, and all other parts are securely in place. Ensure that the filter basket is properly seated and that the stem is correctly positioned. Refer to the user manual for your specific model if you’re unsure about the assembly.
- Percolator Not Turning On (Electric Models): If your electric percolator isn’t brewing at all, the issue could be a malfunctioning power cord, a faulty switch, or an electrical component failure.
- Fix: Check the power cord for any visible damage. If your percolator is plugged in and the power is on but it still doesn’t brew, inspect the internal components (such as the heating element) for issues. If the machine is still under warranty, consider reaching out to the manufacturer for repairs or replacement.
- Old or Worn-Out Gasket: Some percolators have rubber or silicone seals that help create a tight fit between components. If the gasket has become old or cracked, it can cause leaks, preventing the percolator from functioning properly.
- Fix: Inspect the gasket for any signs of wear and tear. If necessary, replace it with a new gasket to ensure a proper seal during brewing.
How to Troubleshoot and Fix These Issues
- For clogged tubes, disassemble the percolator and rinse all parts, paying close attention to the tube. Use a soft brush to clean the internal components.
- For improper assembly, ensure that all parts are aligned correctly. Check the filter basket and ensure it’s securely in place.
- For electrical issues, check the power cord, heating element, and any internal connections. If in doubt, consult the manufacturer or consider having the unit repaired or replaced.
- For worn-out gaskets, replace the gasket with an appropriate replacement part to restore a tight seal and avoid leaks.
Recipe Table: Percolator Brew with Cinnamon Flavor
| Ingredient | Amount | Purpose |
|---|---|---|
| Ground Coffee (Coarse) | 1 tablespoon per cup | For brewing coffee |
| Water | 1 cup per serving | For brewing coffee |
| Optional Flavor (Cinnamon) | ½ teaspoon | Adds a warm, spicy flavor |
| Optional Sweetener | To taste | Adjust sweetness to preference |
Conclusion
Brewing coffee with a percolator may feel a bit old-school, but it offers a rich, full-bodied flavor that many coffee lovers can’t resist. Throughout this guide, we’ve covered everything from avoiding common brewing mistakes to perfecting your coffee-to-water ratio, customizing your brew, and even troubleshooting issues that might arise.
Here’s a quick recap of what we’ve learned:
- Use coarse-ground coffee to prevent bitterness and over-extraction.
- Maintain the ideal water temperature (190°F–205°F) for optimal flavor.
- Perfect your brewing time—usually between 4 to 7 minutes.
- Clean and maintain your percolator regularly to keep flavors fresh.
- Customize your coffee with different beans and flavors like cinnamon or vanilla.
- Troubleshoot common issues like weak coffee or malfunctioning parts with ease.
Now it’s your turn to take these tips and experiment with your own percolator brew! Whether you prefer it bold and robust or light and flavored, don’t be afraid to tweak the process until you find your perfect cup.